
Woodworking is a great way to unwind and unleash your creativity. With the right tools and materials, you can create beautiful and functional pieces of furniture and decor for your home. Whether you’re a seasoned pro or just starting out, here are six woodworking plans that you can tackle on a weekend:
DIY Floating Shelves with Hidden Storage
This video is about a one-weekend project to add extra storage to a bathroom. The project involves using a few tools such as a disk sander, belt sander, orbital sander, and flush trim saw. The video sponsor, Aero Fastener, provided a pneumatic brad nailer, 1-inch Brad nails, and other tools for the build. The project also includes adding dowels and sanding the pieces down to a smooth and consistent finish. The end result is a really great-looking piece with extra storage in the bathroom.
Adirondack Chair by “jimlondon”:
If you’re looking for a classic outdoor chair design, look no further than the Adirondack chair. This plan provides step-by-step instructions and photos for building your own Adirondack chair, perfect for relaxing on a lazy weekend afternoon.

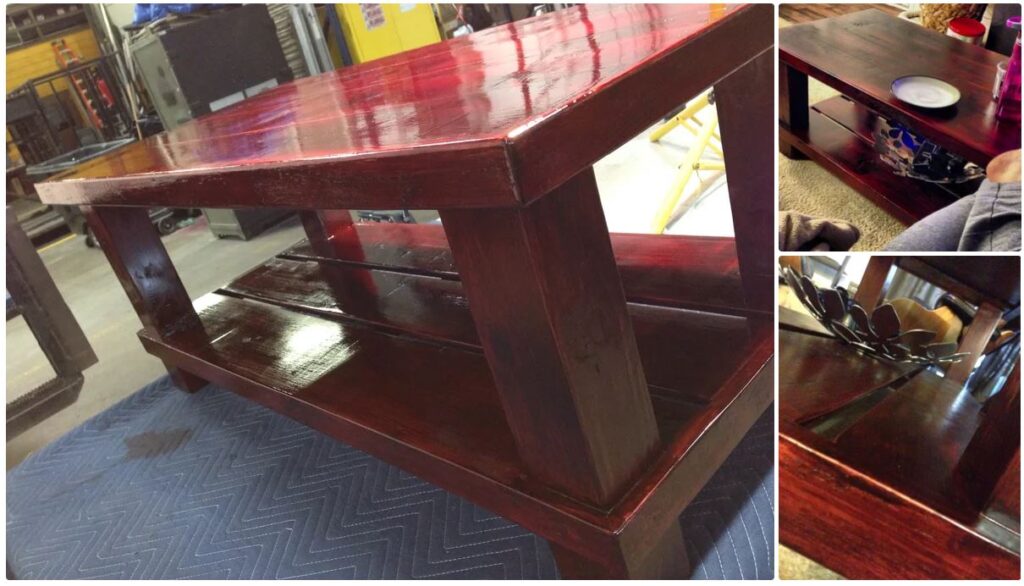
Pallet Wood Coffee Table by “hooptycreations”
This rustic coffee table repurposes pallet wood into a unique and functional piece of furniture. With a materials list, cut list, and detailed instructions, you can create your own customized coffee table for your living room.
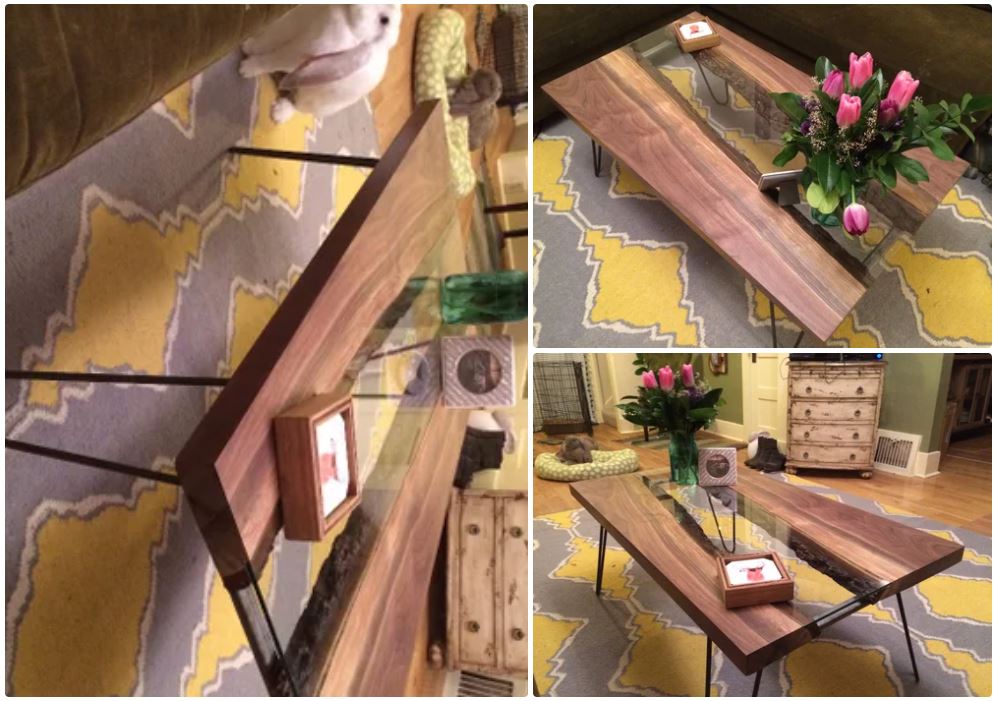
Live Edge River Coffee Table by “DIY Montreal”
If you’re looking for a woodworking project that’s both beautiful and functional, consider building a live edge river coffee table. This plan includes step-by-step instructions for building the table and pouring the resin to create a stunning river effect.
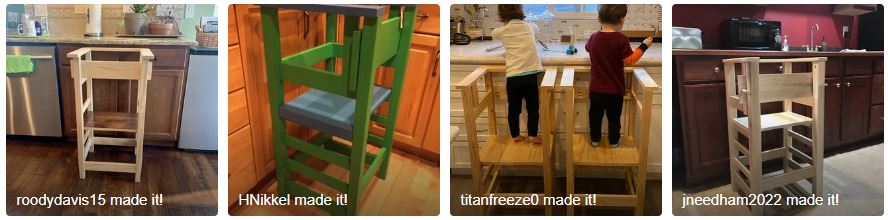
Build a Learning Tower for Under $50
Building a learning tower for under $50 is possible with some basic materials and tools. The first step is to determine the overall height of the tower, which should approximate a kitchen countertop (36″). Next, the platform should be constructed, which can be done with a piece of 3/4″ plywood cut to size. The edges of the platform should be trimmed out with 3/4″ pine. Two rails should be added to the bottom of the platform to lock it in position in the learning tower. An additional piece of 1″ x 6″ should be used to close off the back of the tower for additional child safety. Two guide brackets should be attached to the sides of the tower, which will hold the piece in place and allow for easily sliding it in place when a child is in the tower. Finally, the learning tower can be painted or stained and sealed. If pine is used, a pre-stain wood conditioner should be applied prior to finishing.
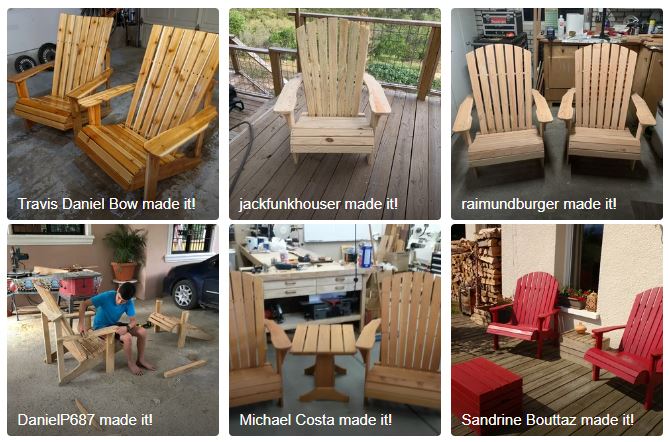
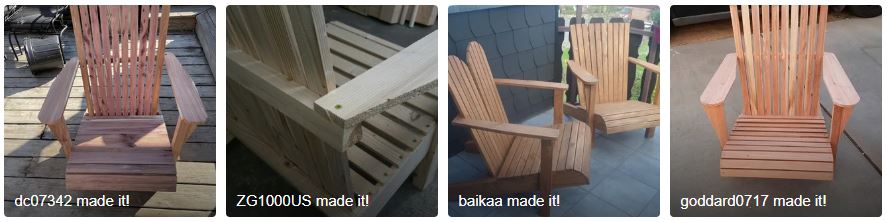
Adirondack Chair From ONE Board
In order to build an Adirondack chair from one board, you will need access to basic woodworking tools such as a band saw with at least 8″ vertical capacity, a table saw, drill, and a jigsaw. You will also need waterproof outdoor glue and exterior grade screws. The process for building the chair involves cutting the board into the necessary pieces, assembling the pieces together, and then sanding and finishing the chair.
The end result is a classic-looking Adirondack chair with a special twist. It is comfortable and perfect for resting in after a long day, or for getting up early and watching the sun rise while sipping your favorite hot beverage.
No matter what your skill level, these six woodworking plans are a great way to get started on your next project. So, roll up your sleeves and get ready to create something beautiful and functional for your home. Happy woodworking!